Shortly before Christmas we published a minor update for portatour®. Below you will find a description of the new features.
Map: More colors for displaying customers
It was already possible to color customers on the map not only according to urgency, but also according to other criteria, e.g. industry.
As a reminder, here’s how to proceed:
- In the main menu, click Customers.
- Click the map icon.
- In the top right corner, click the cogwheel icon.
- In the color selection box, select the desired criterion according to which you want to set the colors.
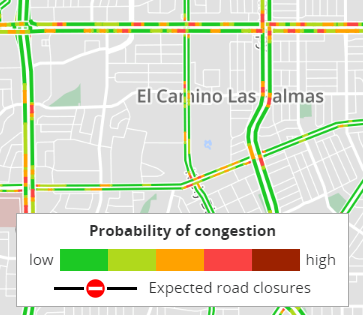
The assignment of colors to the different crtieria occurs automatically, whereby the limit was previously 5 colors. With this update, the color palette has now been extended to 20 colors. Here is an example:
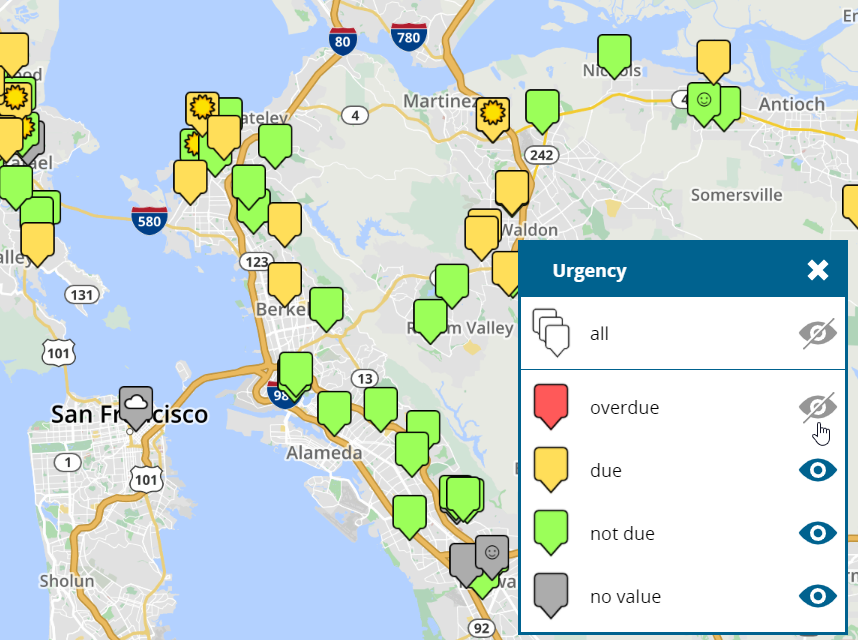
Map: Hide customers by color
Regardless of which criterion you used to color the customers on the map, you can now hide or show all customers of the same color with a single click.
This is useful if you want to focus on individual colors on the map and avoid them being concealed by others.
Proceed as follows:
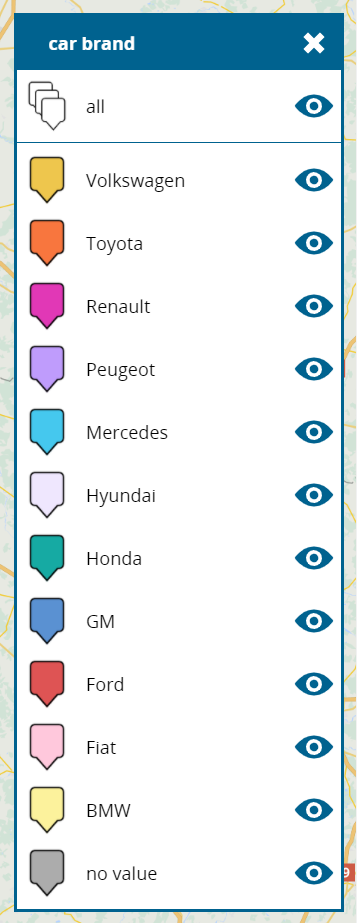
- If the legend with the color overview is not yet open, click the legend icon at the bottom right.
- To hide or show the customers of a certain color, click the eye icon to the right. The icon toggles between gray and blue.
- To hide or show all customers, use the eye icon in the all row.
Edit customer reference of appointments and tasks
To edit the customer reference of an appointment or task retroactively, open the edit window. The current customer reference is displayed at the top.
Click the pencil icon to create, change or delete a customer reference. When changing the customer reference, the subject and address of the appointment can also be updated, if desired.
Typical use cases:
- The appointment was imported and does not have a customer reference yet.
- The appointment was mistakenly assigned to the wrong customer when it was created.
Note: If portatour® is connected to data sources in Salesforce, Dynamics CRM or Veeva CRM, the customer reference cannot be edited retroactively. Make the change in the source system or delete the appointment and recreate it with the correct customer reference.
New filters in the extended customer search
The following filters have been added to the extended customer search:
- Call block: not blocked today
- In “My Places”: any| no | yes
- Accommodation : any | no | yes