Save individual map options as default
Previously, your changes in the map options were reset when you reopened the map. From now on, you can define yourself which options are permanently set as the default.
Proceed as follows to save the standard for a map:
- Set the desired options.
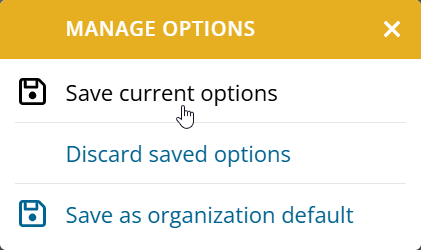
- Click on the arrow downwards next to “Reset options“.
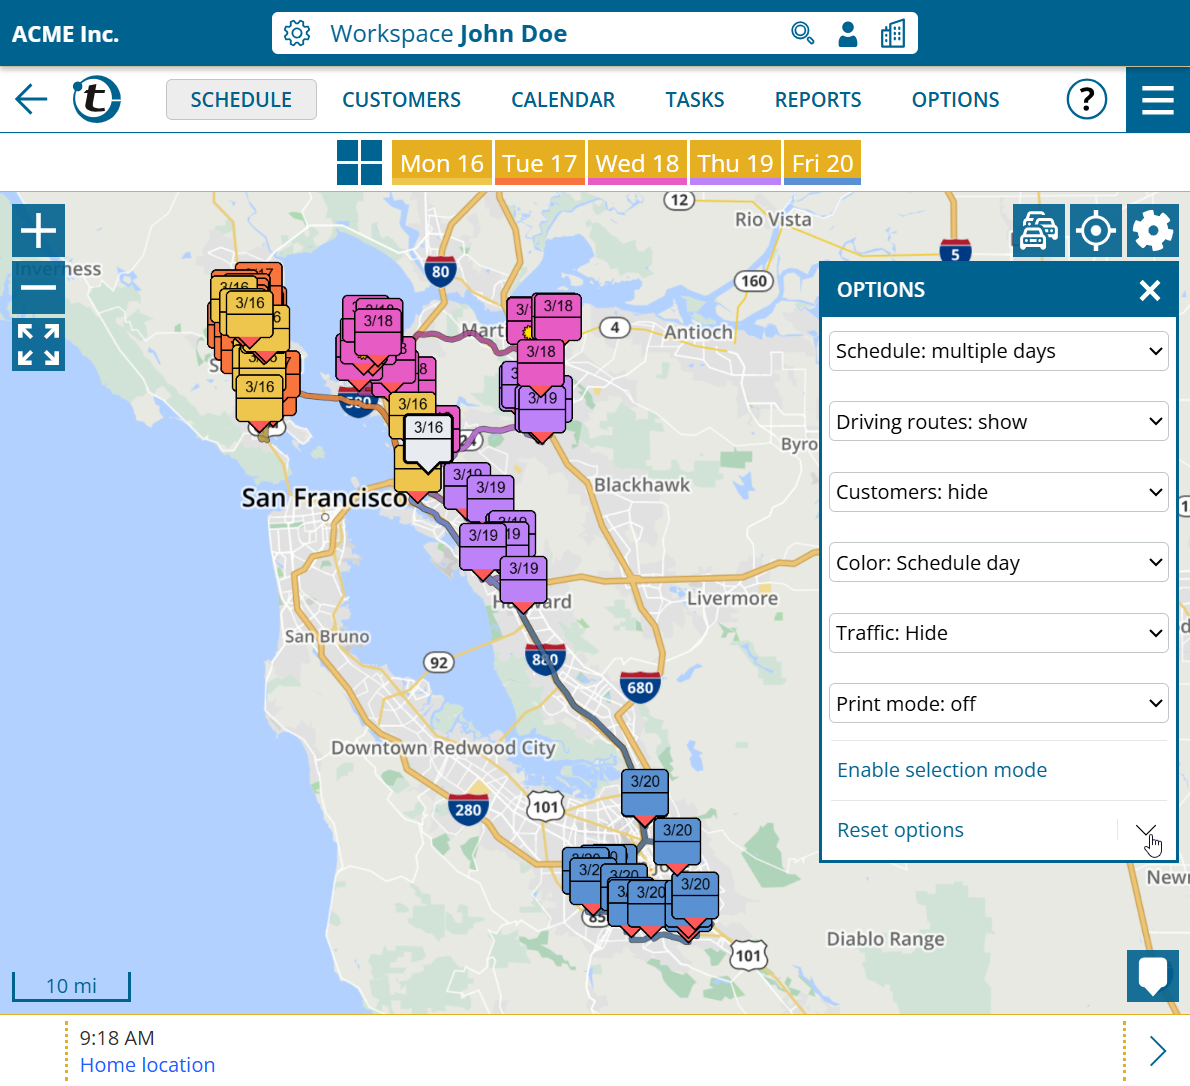
- Select “Save current options“.
The standard is saved separately for the customer map, schedule map and the map in the territory optimization. The selection of the key figures to be displayed in the territory areas selection is also saved in the territory optimization.
As an administrator, you can also use “Save as organization default” to set the current options as the default for users who have not saved their own default.
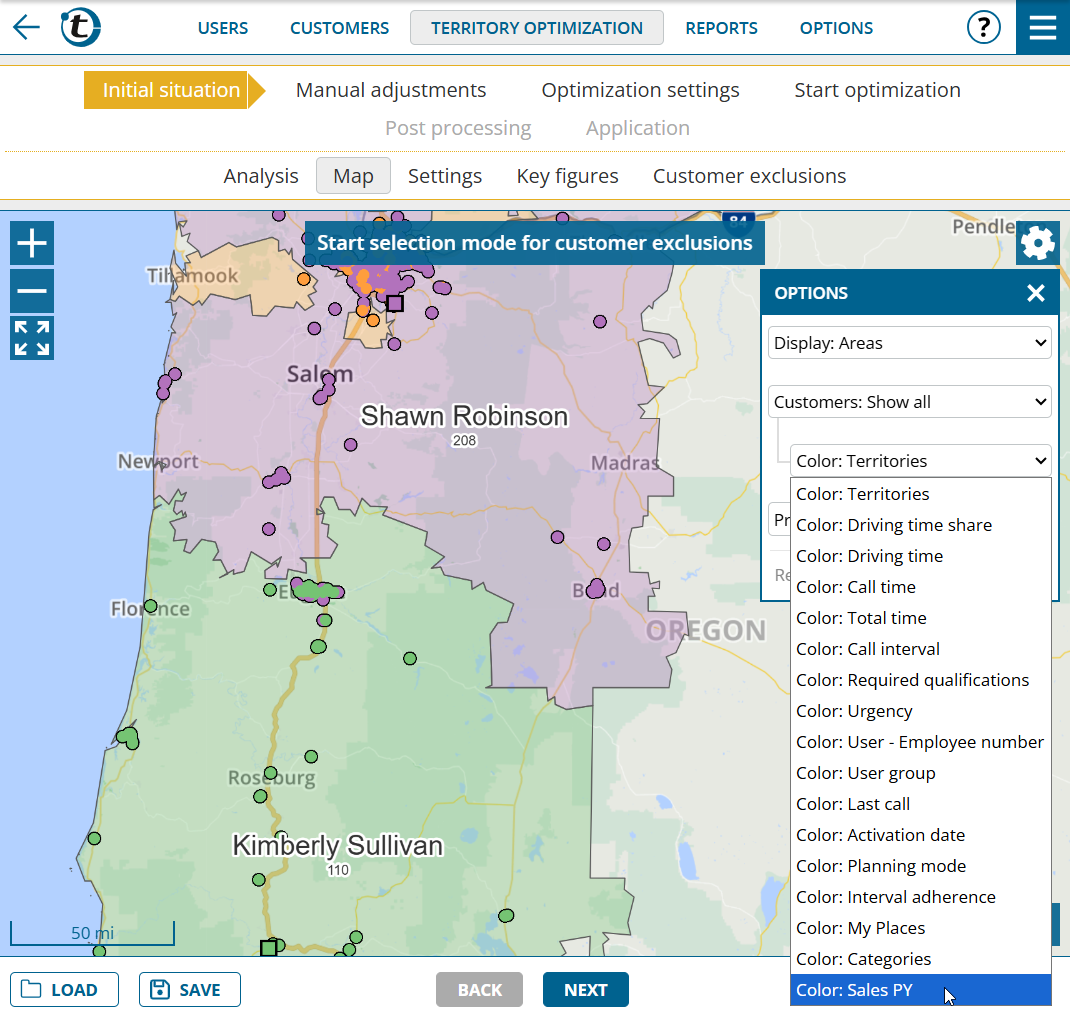
Territory optimization : Map with additional coloring options
This news concerns administrators and supervisors of company accounts with activated territory optimization or territory analysis.
From now on, all coloring options from the customer map are available on every map in the territory optimization – including coloring according to custom fields.