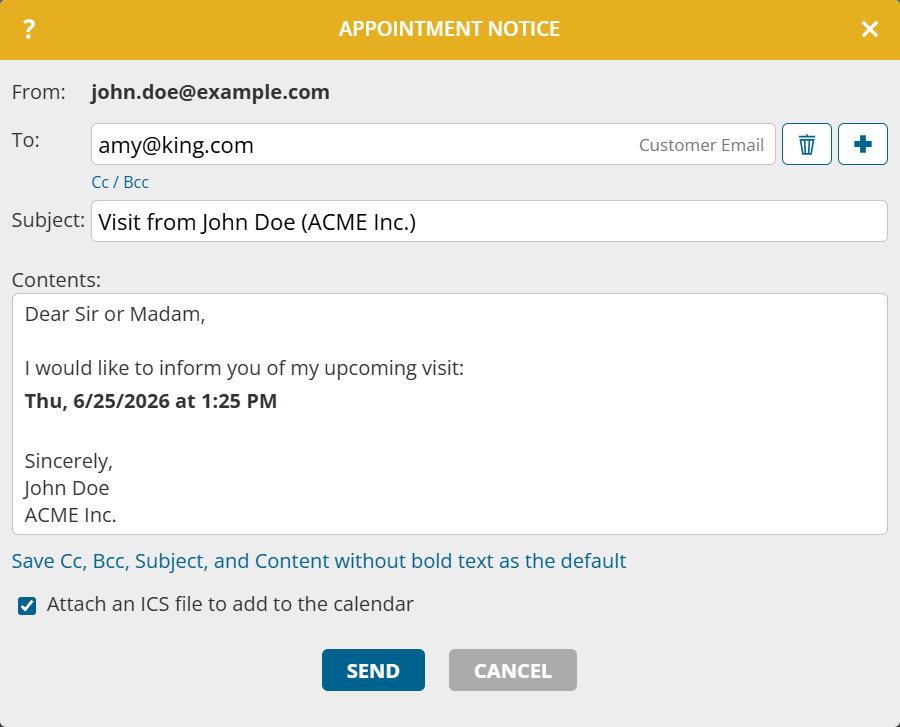
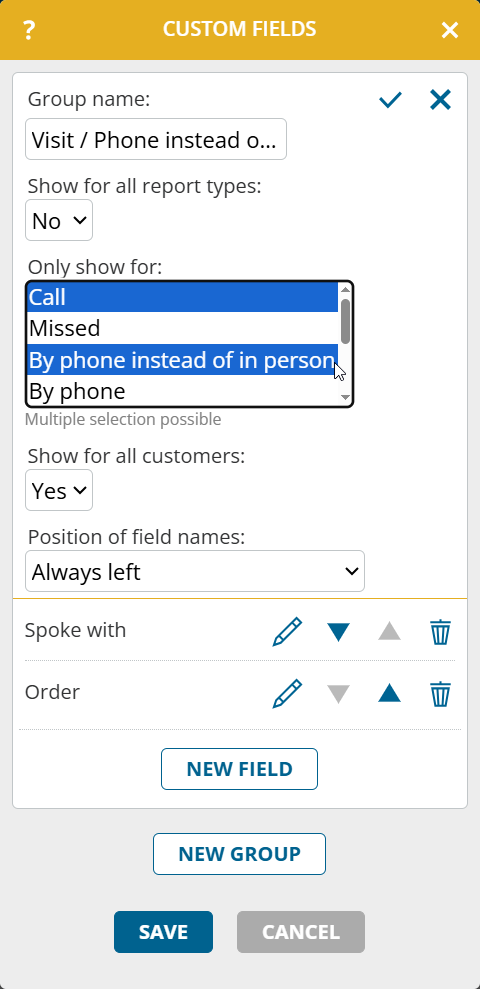
New report types for “By phone” and “By phone instead of in person”
Previously, the three options “By phone instead of in person”, “By phone” and “Other report” resulted in the same report type “Other report”. From now on, there is a separate report type for each of these three cases. This allows you to configure the custom fields differently.
The new report types can also be found in the import, export and extended search. If necessary, adjust any automated exports and processing.
Note: This function is not yet available if portatour® is connected to Dynamics CRM as the data source system.
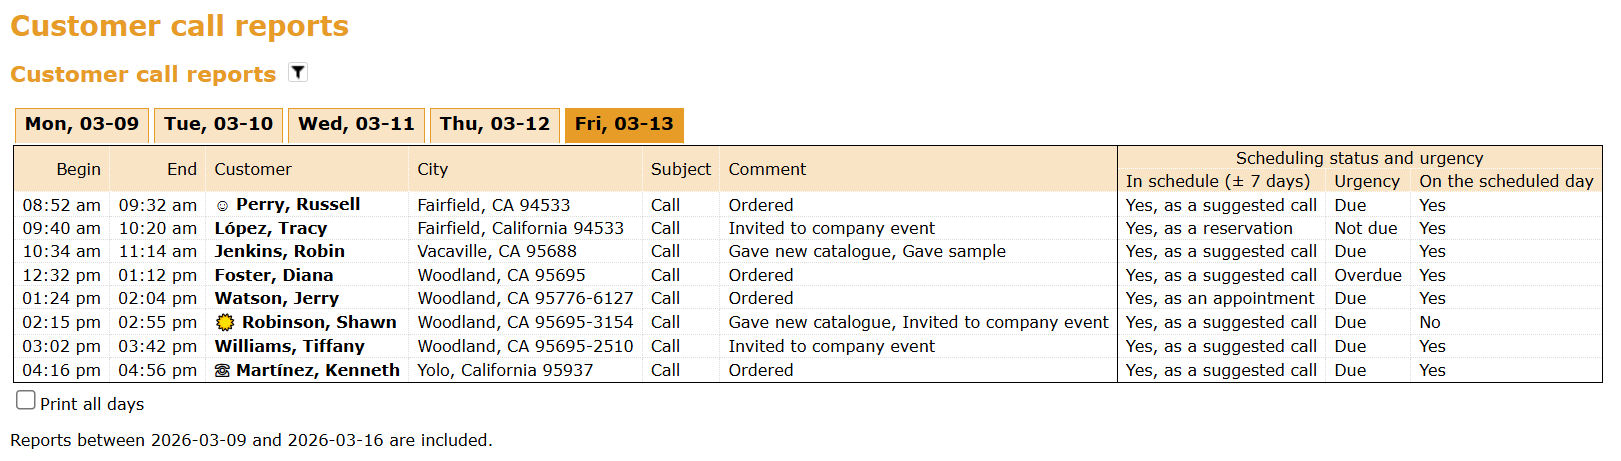
Scheduling status and urgency of the called customers in the report
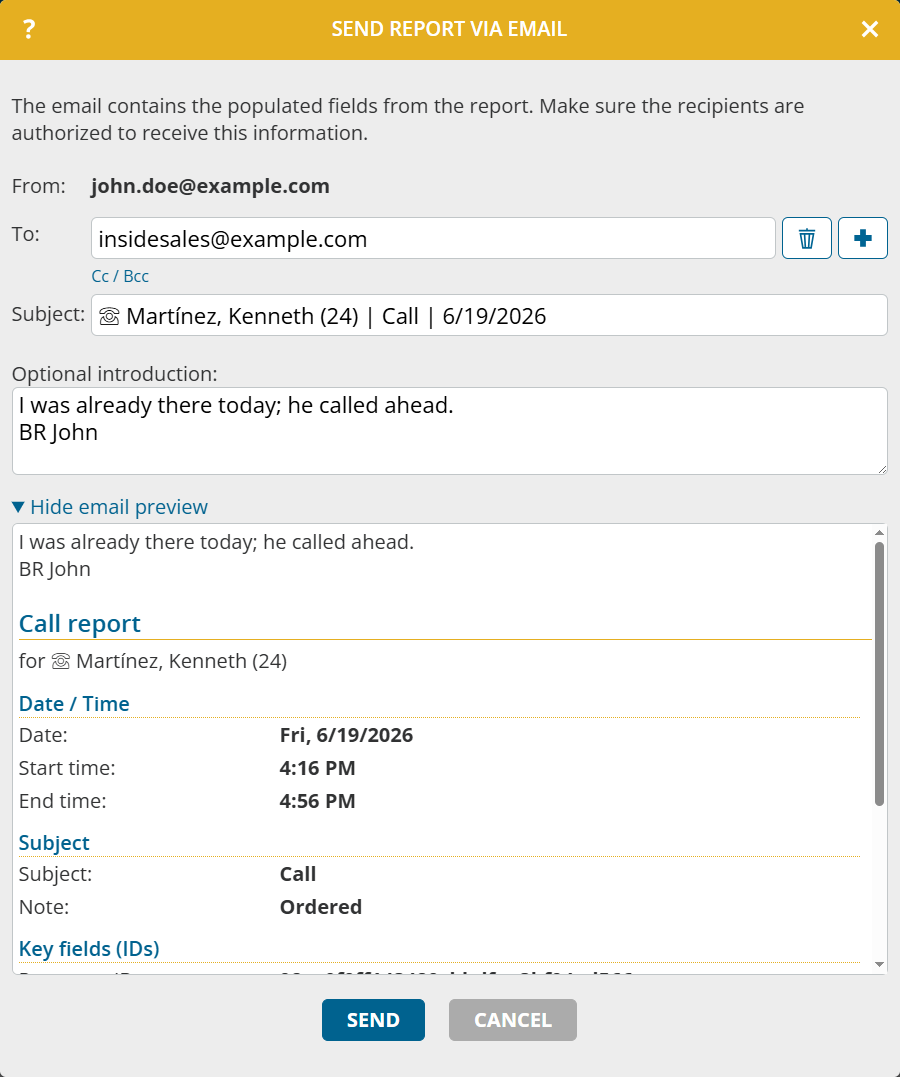
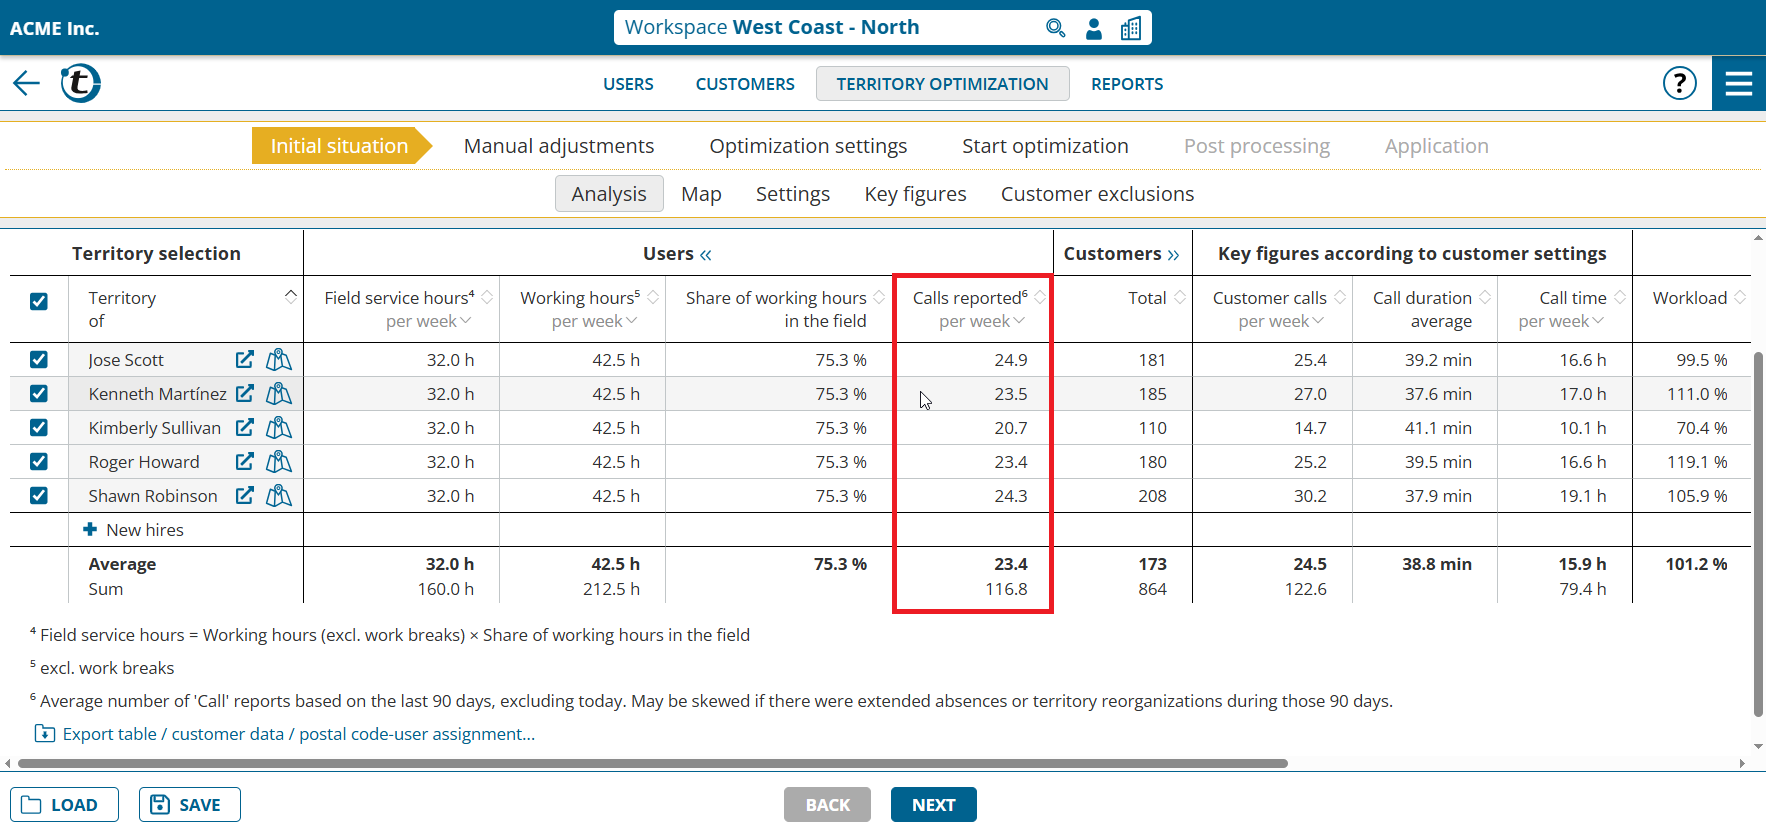
portatour® adds further details on the status of your completed calls to the report. In the section “call reports“, you can see in the table in the additional columns “Scheduling status and urgency” whether a customer was in the schedule at the time the report was created and what the urgency was at that time.
The new columns are also available via the report export.
There is also a new section “Planning status and urgency of customers visited in the last 90 days“. There you can see statistics based on these values.

Please note that the underlying data is determined and saved when the report is created. Subsequent changes to the call reports have no influence. Call reports entered late can distort the statistics.
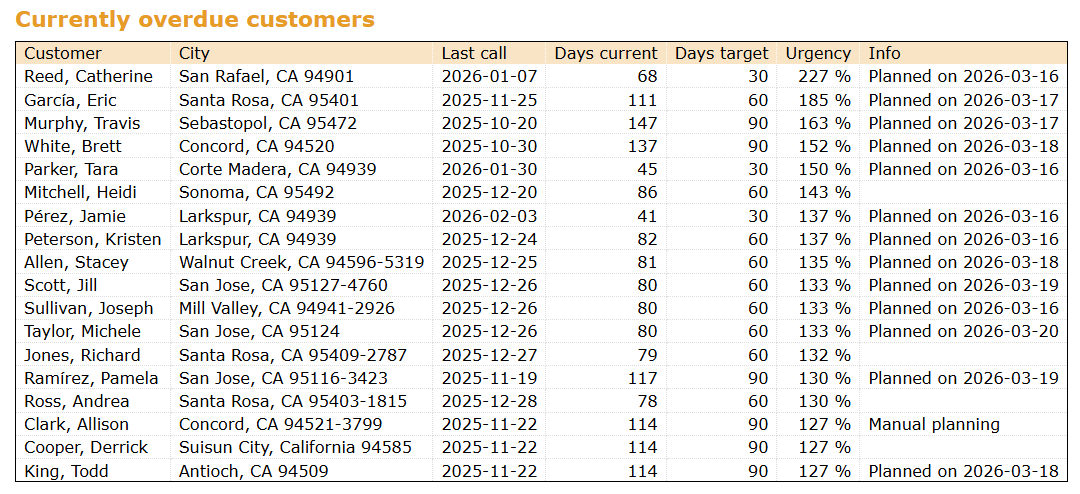
The section “Currently overdue customers” now also shows if a customer call is planned for this customer in the schedule.
Note: This feature is not yet available if portatour® is connected to Dynamics CRM as the data source system.
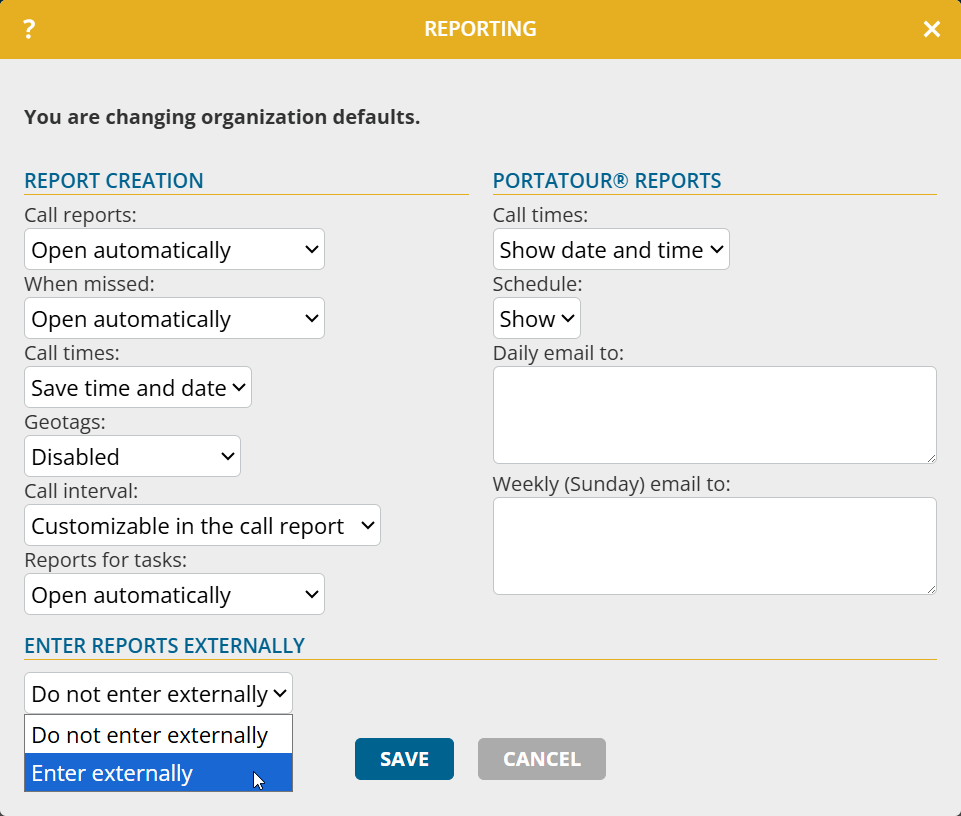
Entering reports externally
Does your company record call reports also in another system? portatour® can now seamlessly connect to it. When you click on “Called now” or “Missed now” for a customer, portatour® opens the external URL you have configured. This allows you to open the appropriate data record or the desired entry form directly in the external system. The external URLs are opened in addition to the actions from ‘Report creation’.
How to enable this feature organization-wide as an administrator:
- In the “Workspace Organization“, open “Options“.
- Click on “Reporting“.
- Set “Enter reports externally” to “Enter externally“.
- At “For customers” click on “Configure“.
- Enter the external URL to be opened at “Called now“.
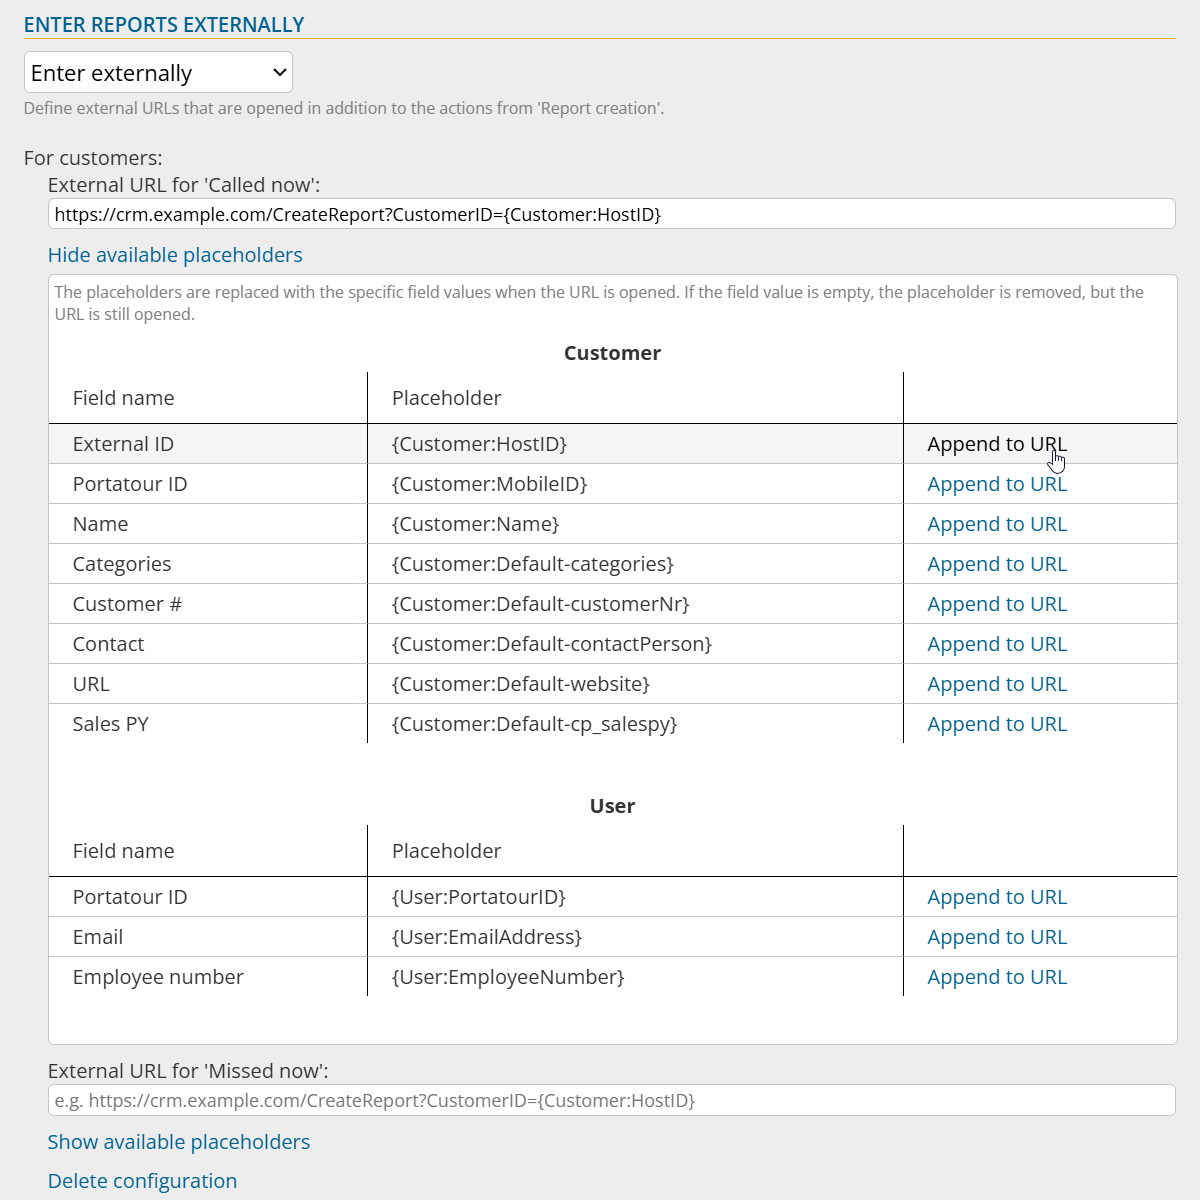
- Optionally use placeholders that portatour® fills with the corresponding values when the URL is opened.
If required, you can overwrite the settings for each user. The new authorization “Edit external report entry settings” controls which authorization level is required for the override.
Note: This function is not yet available if portatour® is connected to Dynamics CRM as the data source system.